Before you start
You will need a FieldPal account with the Org Admin role (or equivalent permission to manage templates). Log in to the dashboard at dashboard.fieldpal.ai.Step 1: Go to Report Templates
In the left-hand navigation, click Report templates.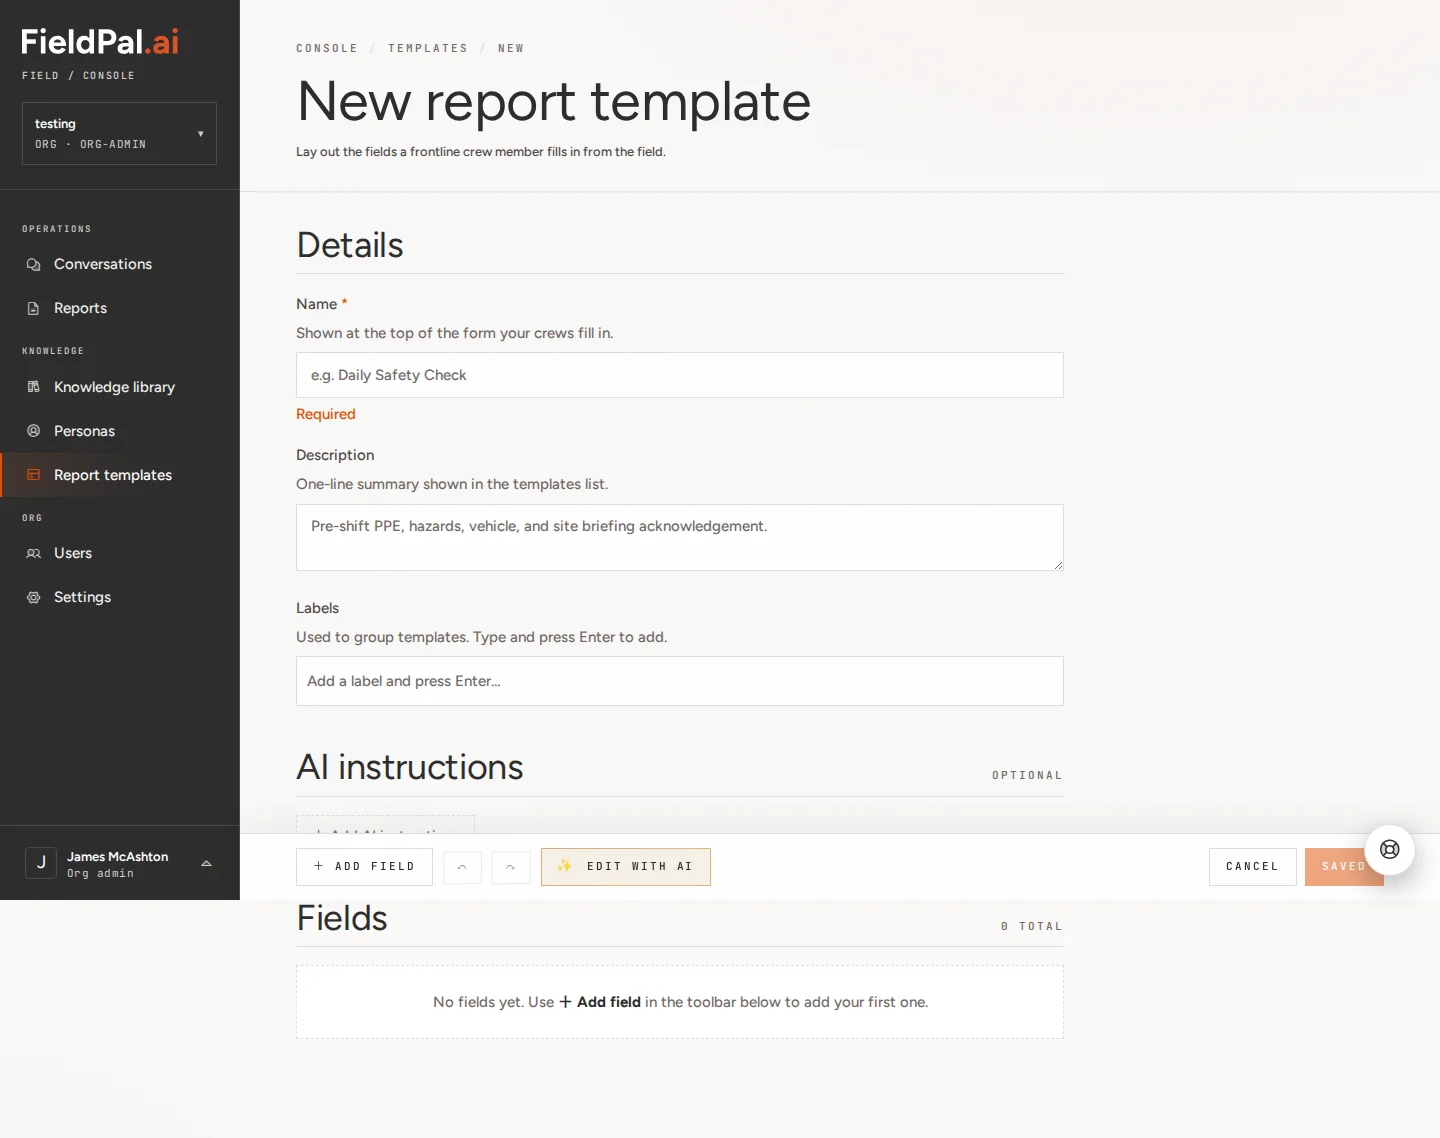
Step 2: Create a new template
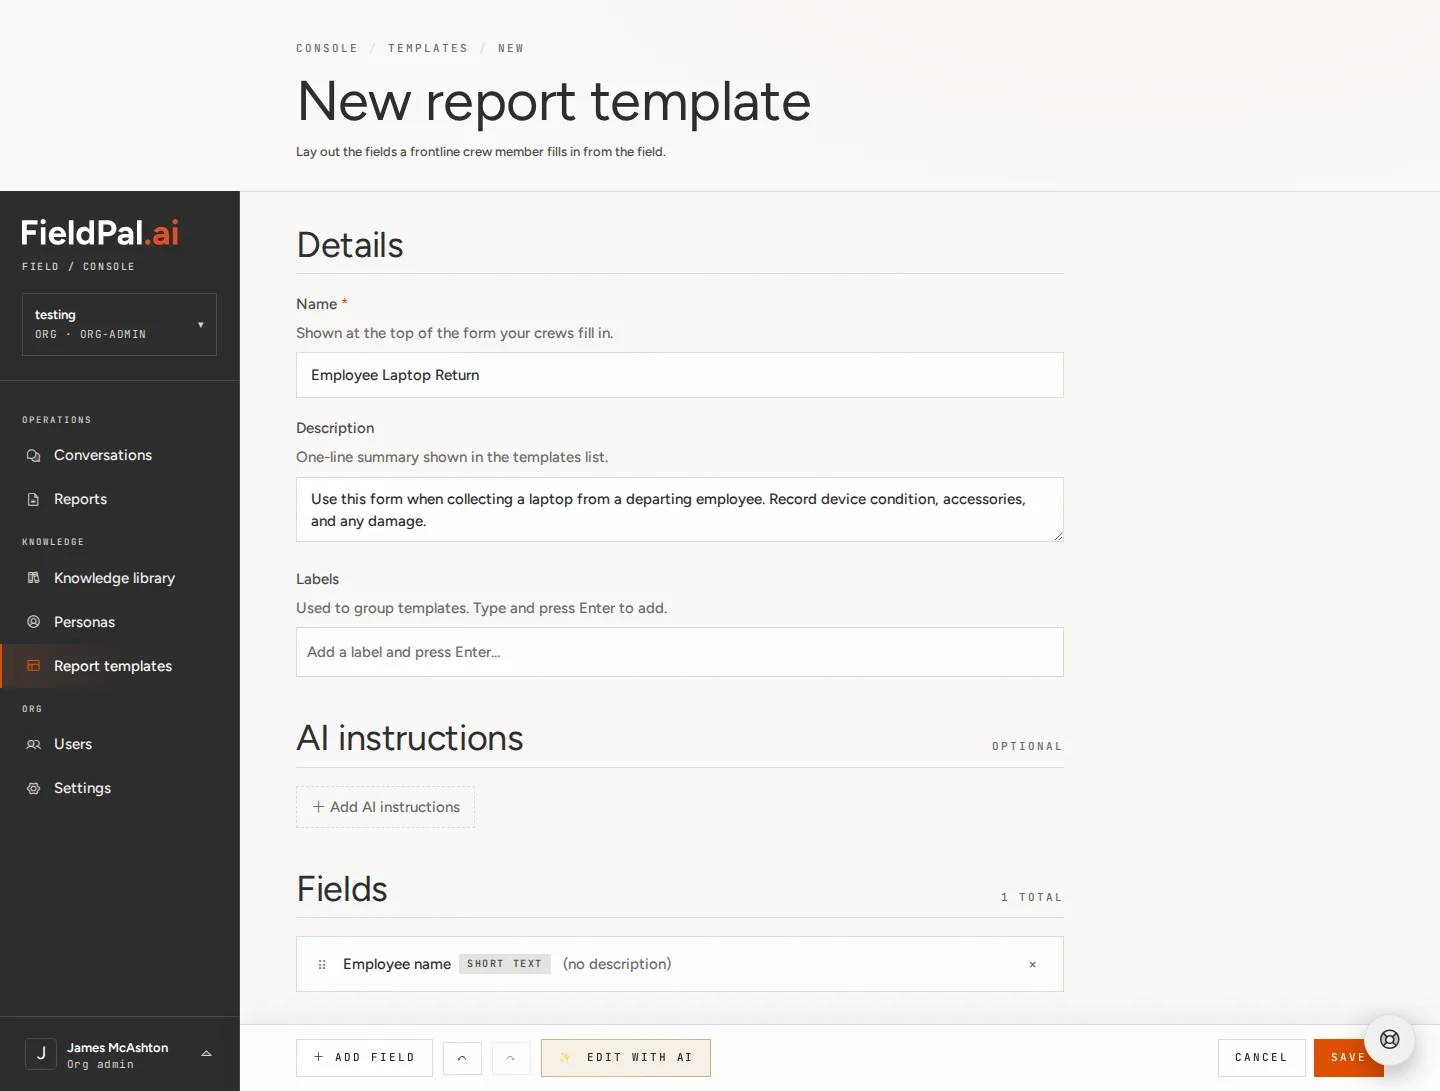
On the Report Templates page, click the + New template button in the top right. This opens a blank template editor.Step 3: Name and describe the template
At the top of the editor you will see two fields:- Name: what your team sees when choosing a form. Use something clear and specific, e.g.
Employee Laptop Return. - Description: a one-line summary shown in the template list, e.g.
Use this form when collecting a laptop from a departing employee. Record device condition, accessories, and any damage.
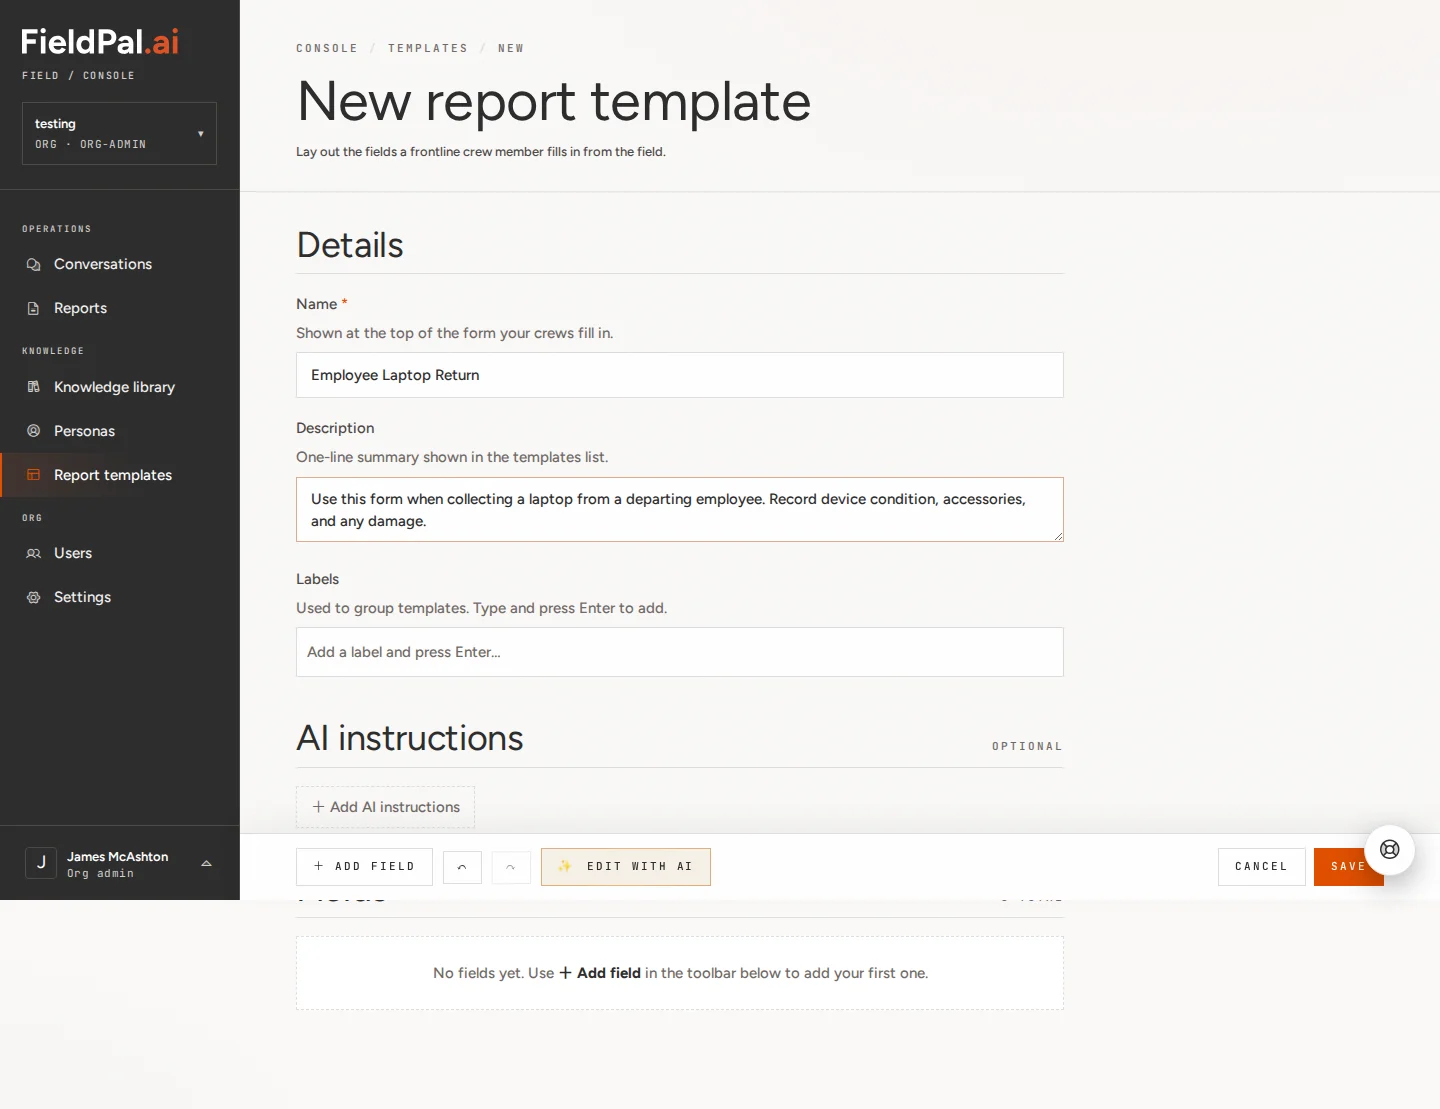
The name and description do not appear inside the form itself. They are just for identifying the template in the dashboard and app.
Step 4: Add a Short text field (Employee name)
Scroll down to the Fields section and click + Add field in the toolbar at the bottom. A menu appears listing all available field types.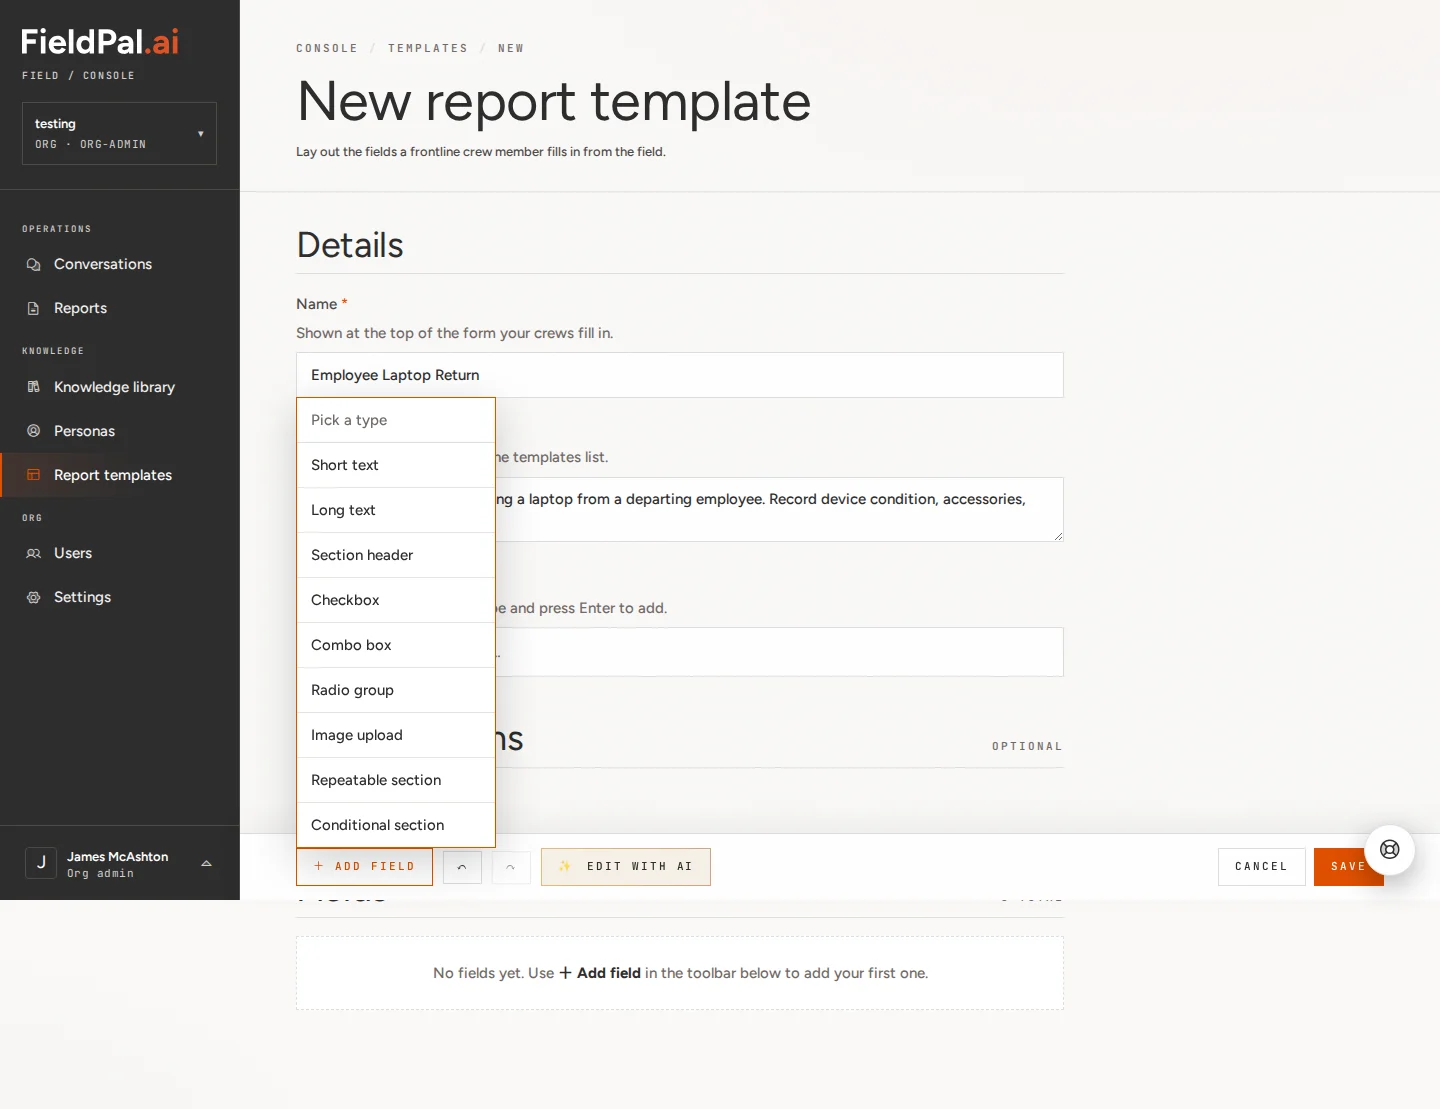
Click Short text. A new field appears in the list with a default name.

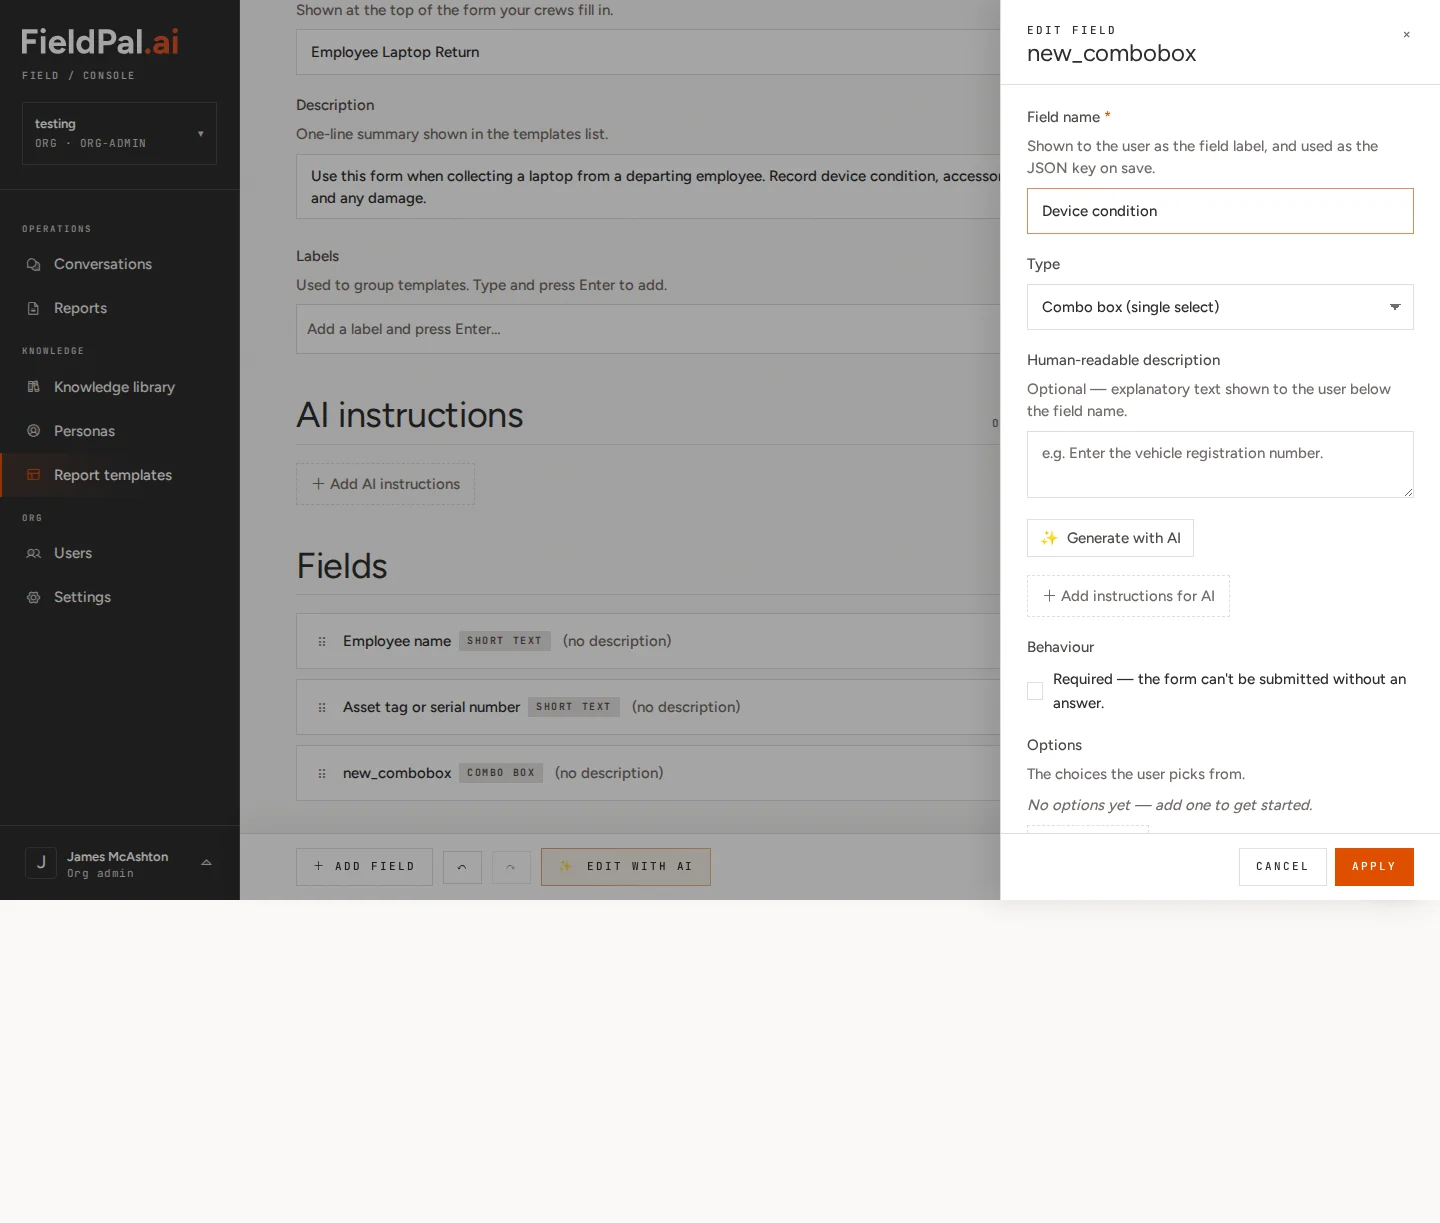
Step 5: Name the field
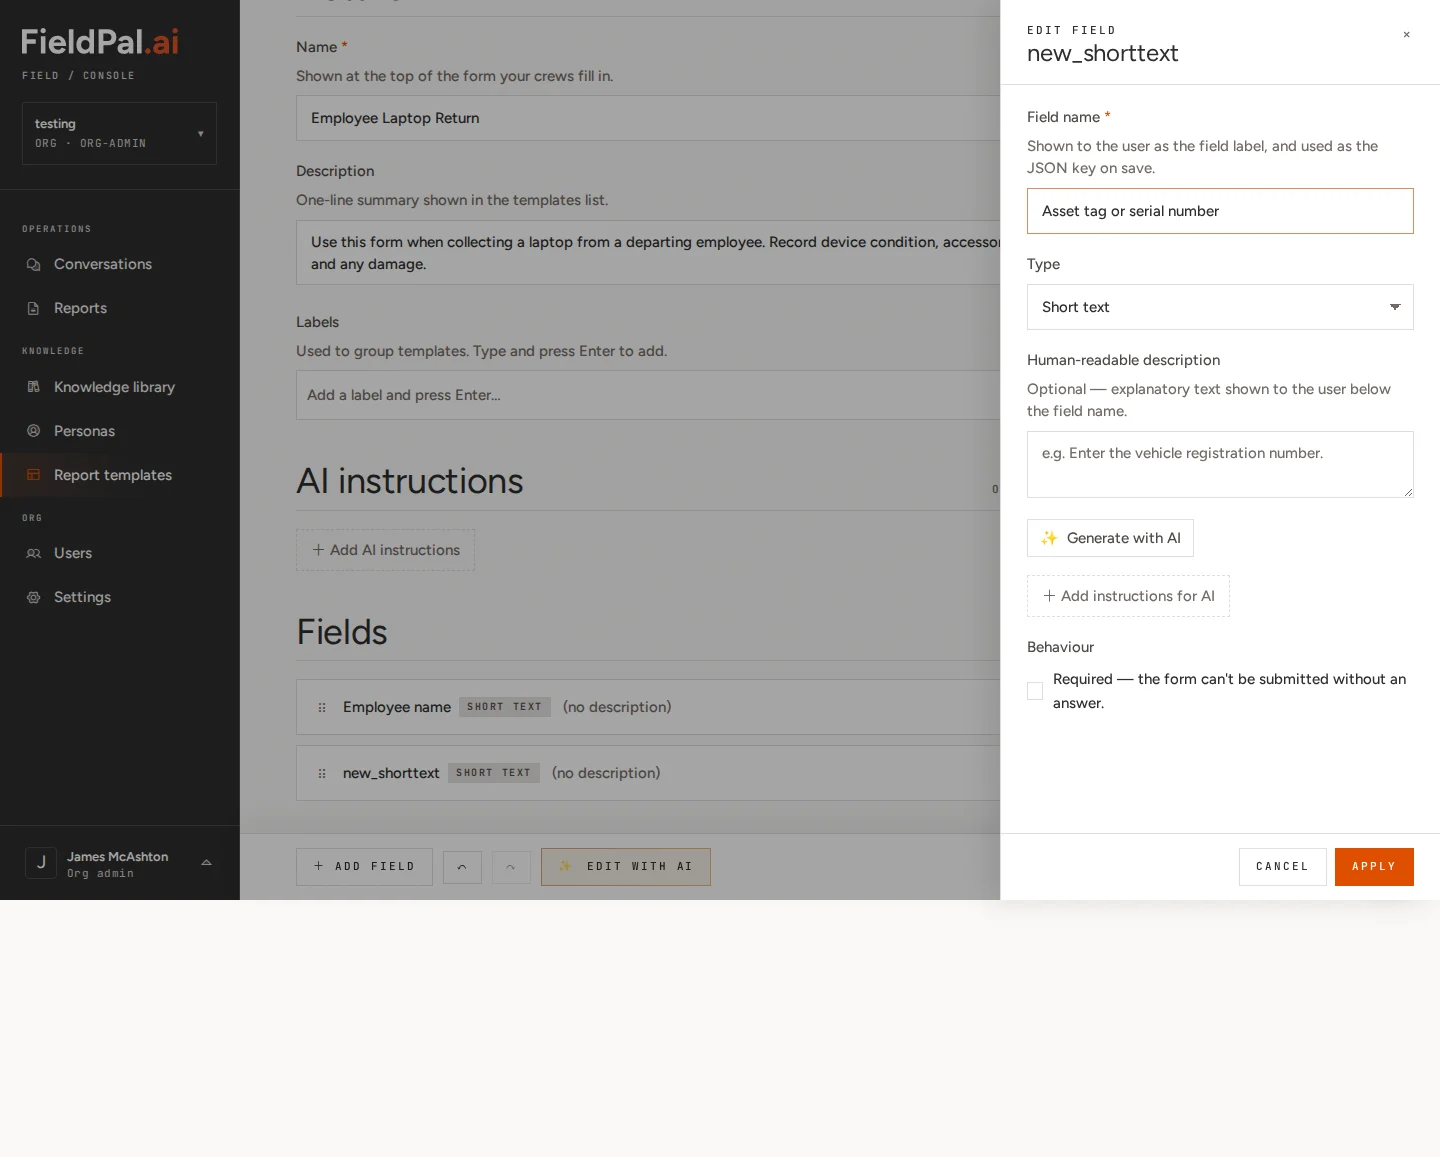
Click anywhere on the field row to open the Edit field panel on the right.
Employee name
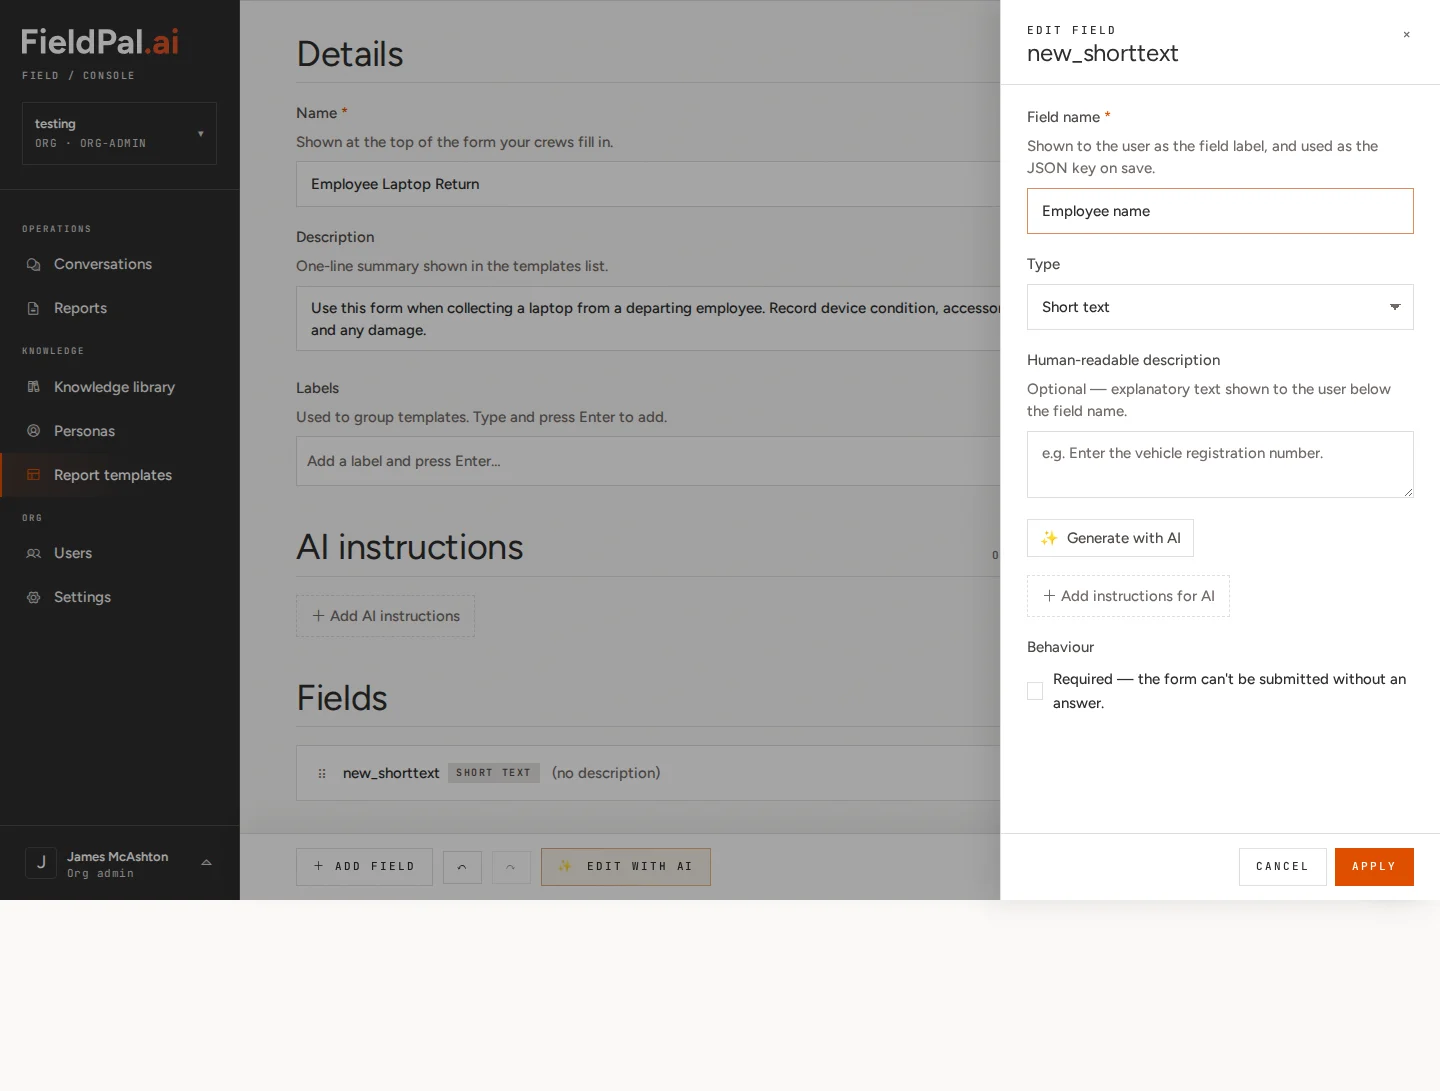
The field name is the question label that the person filling in the form will see. Keep it short and plain.
Step 6: Add a second Short text field (Asset tag)
Click + Add field again and choose Short text.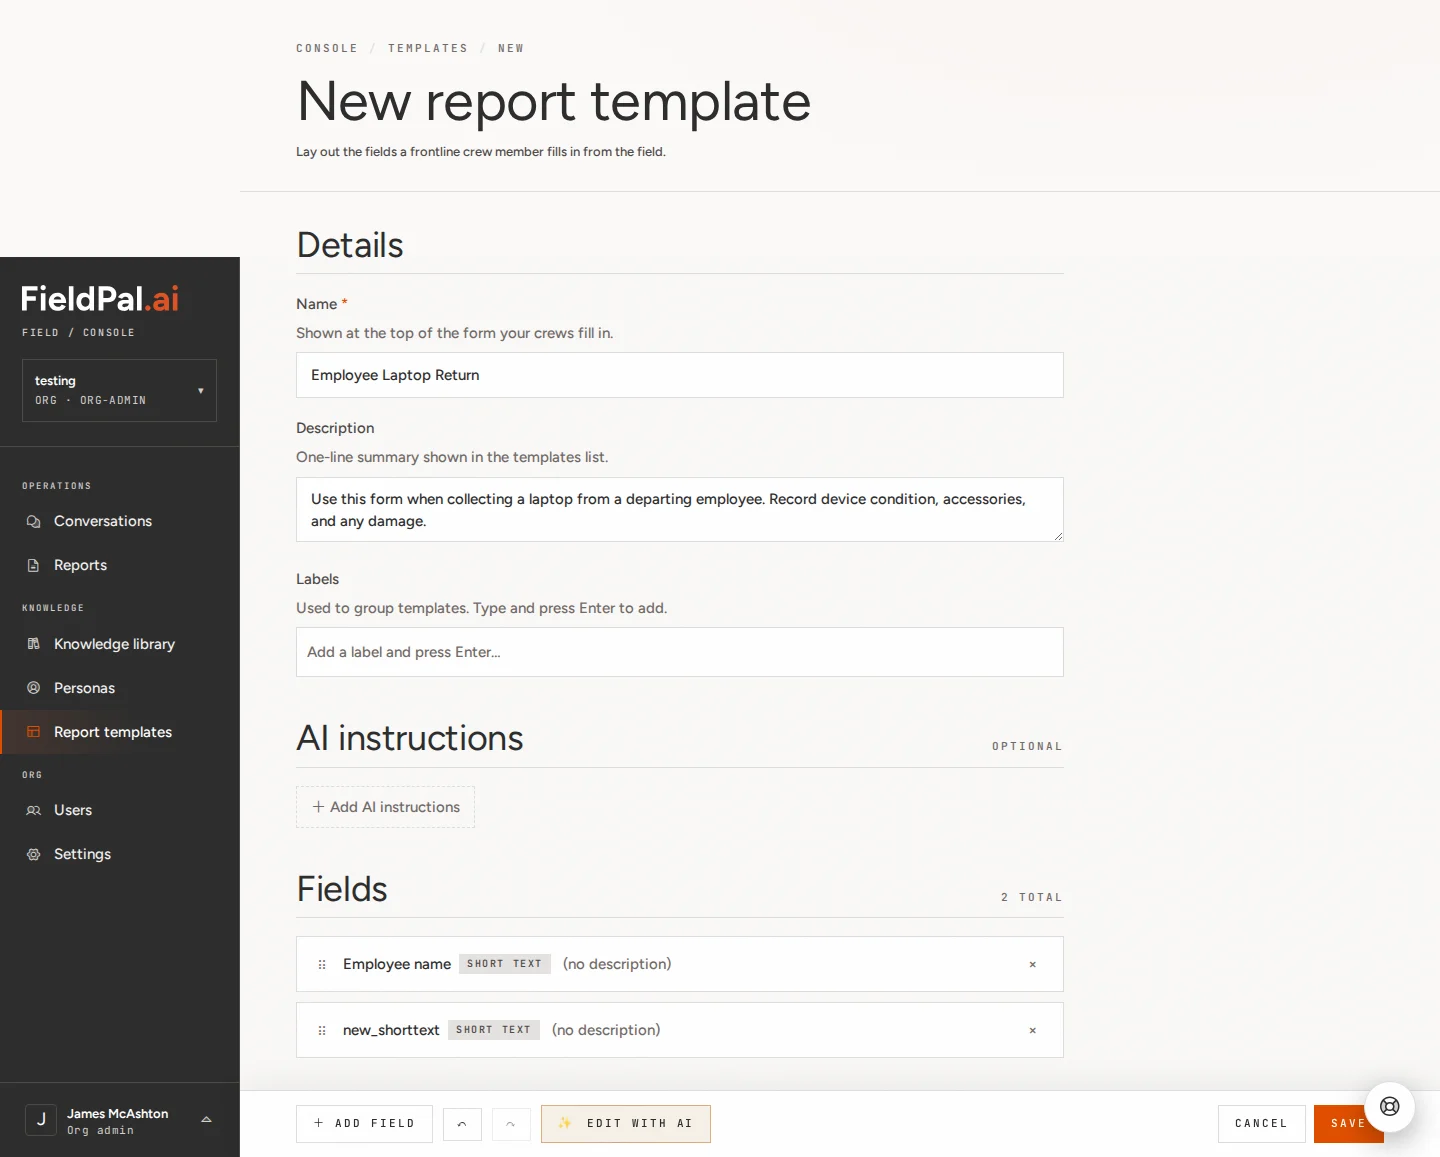
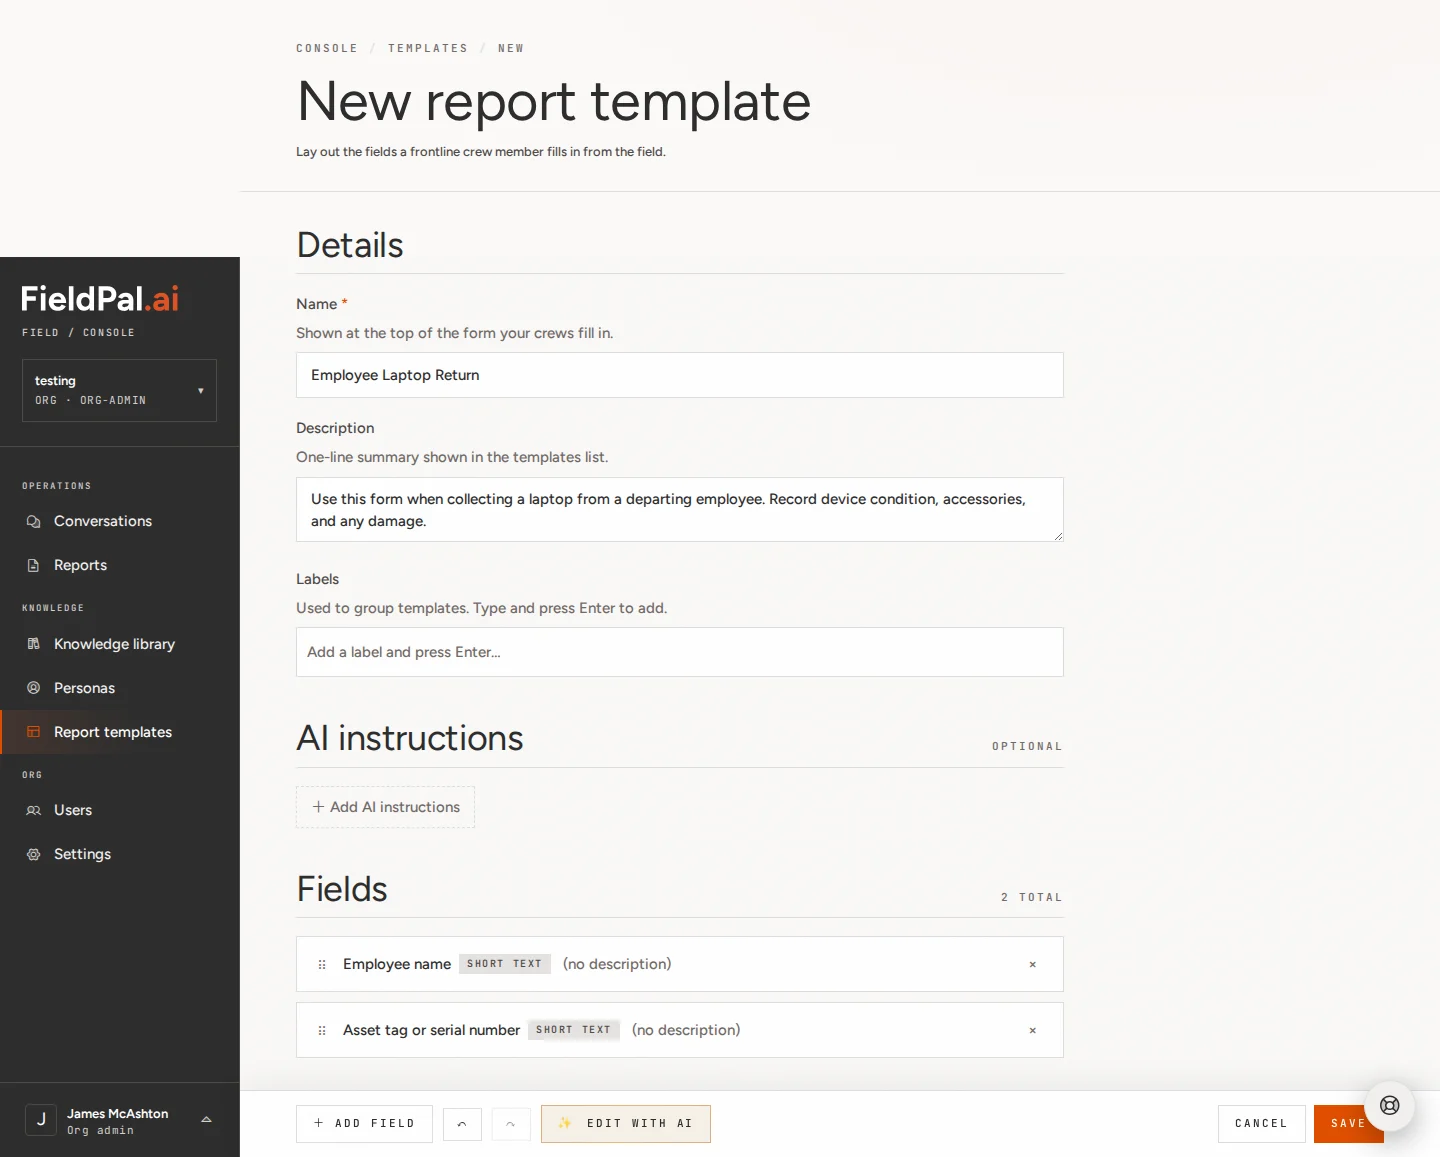
Asset tag or serial number
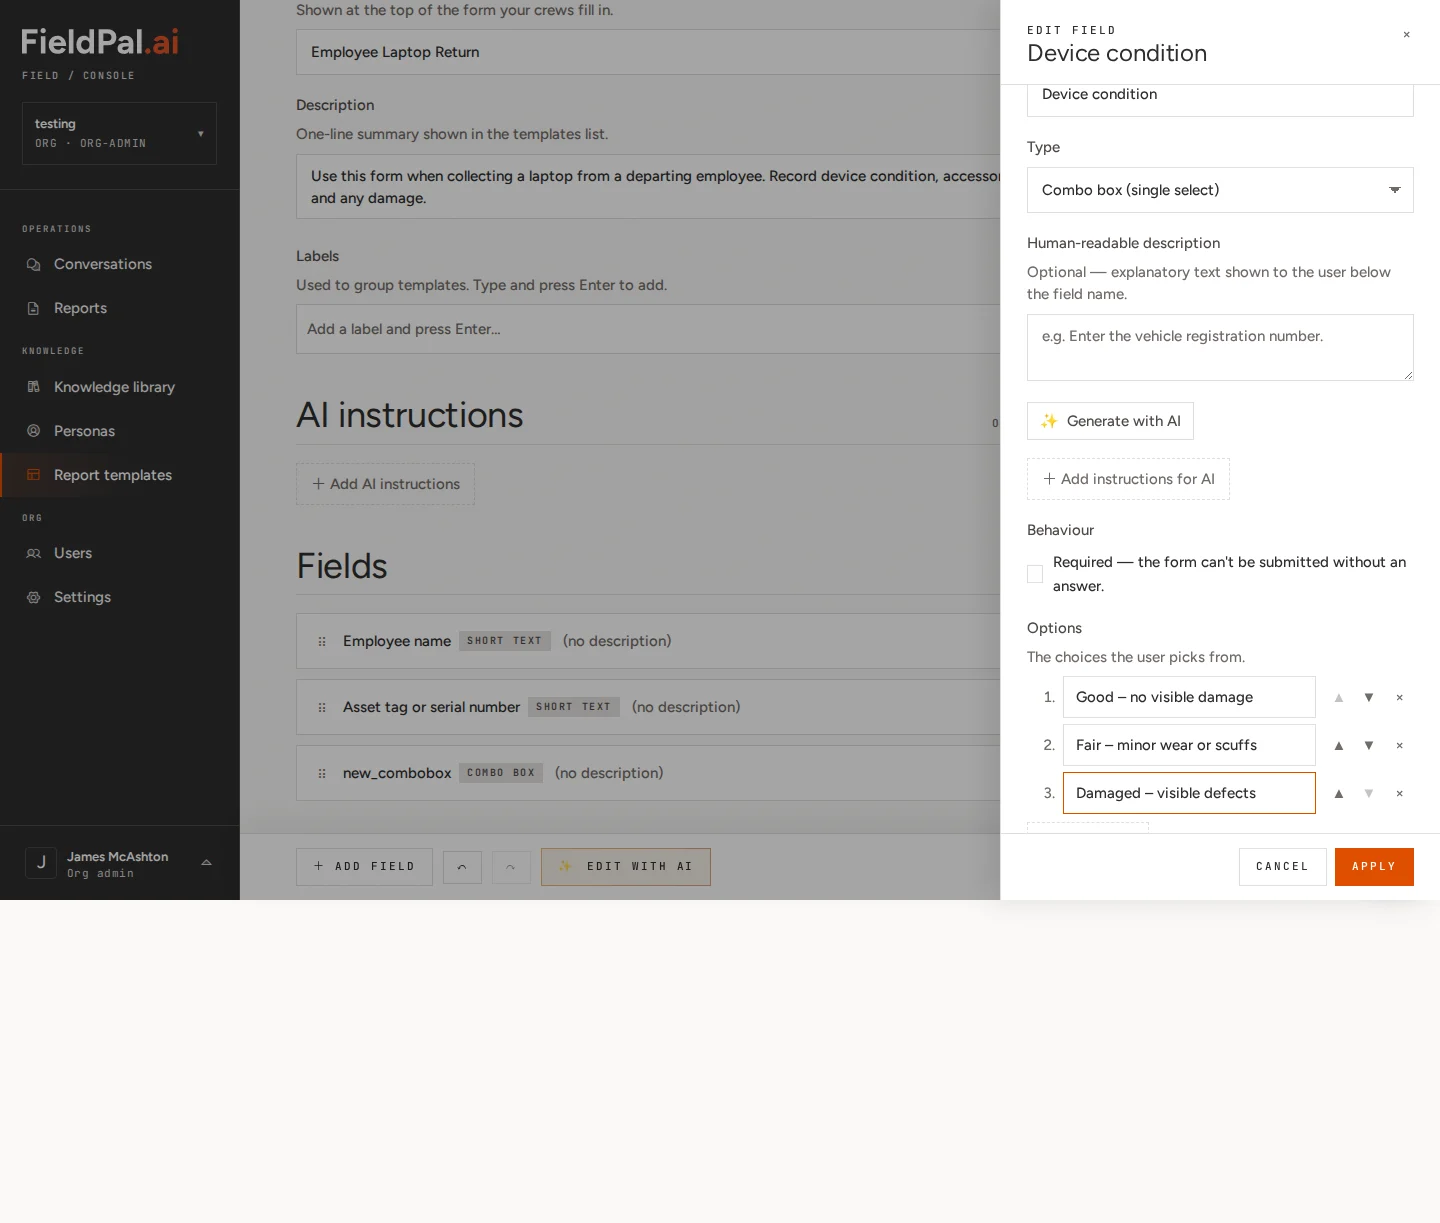
Step 7: Add a Combo box field (Device condition)
Click + Add field and choose Combo box.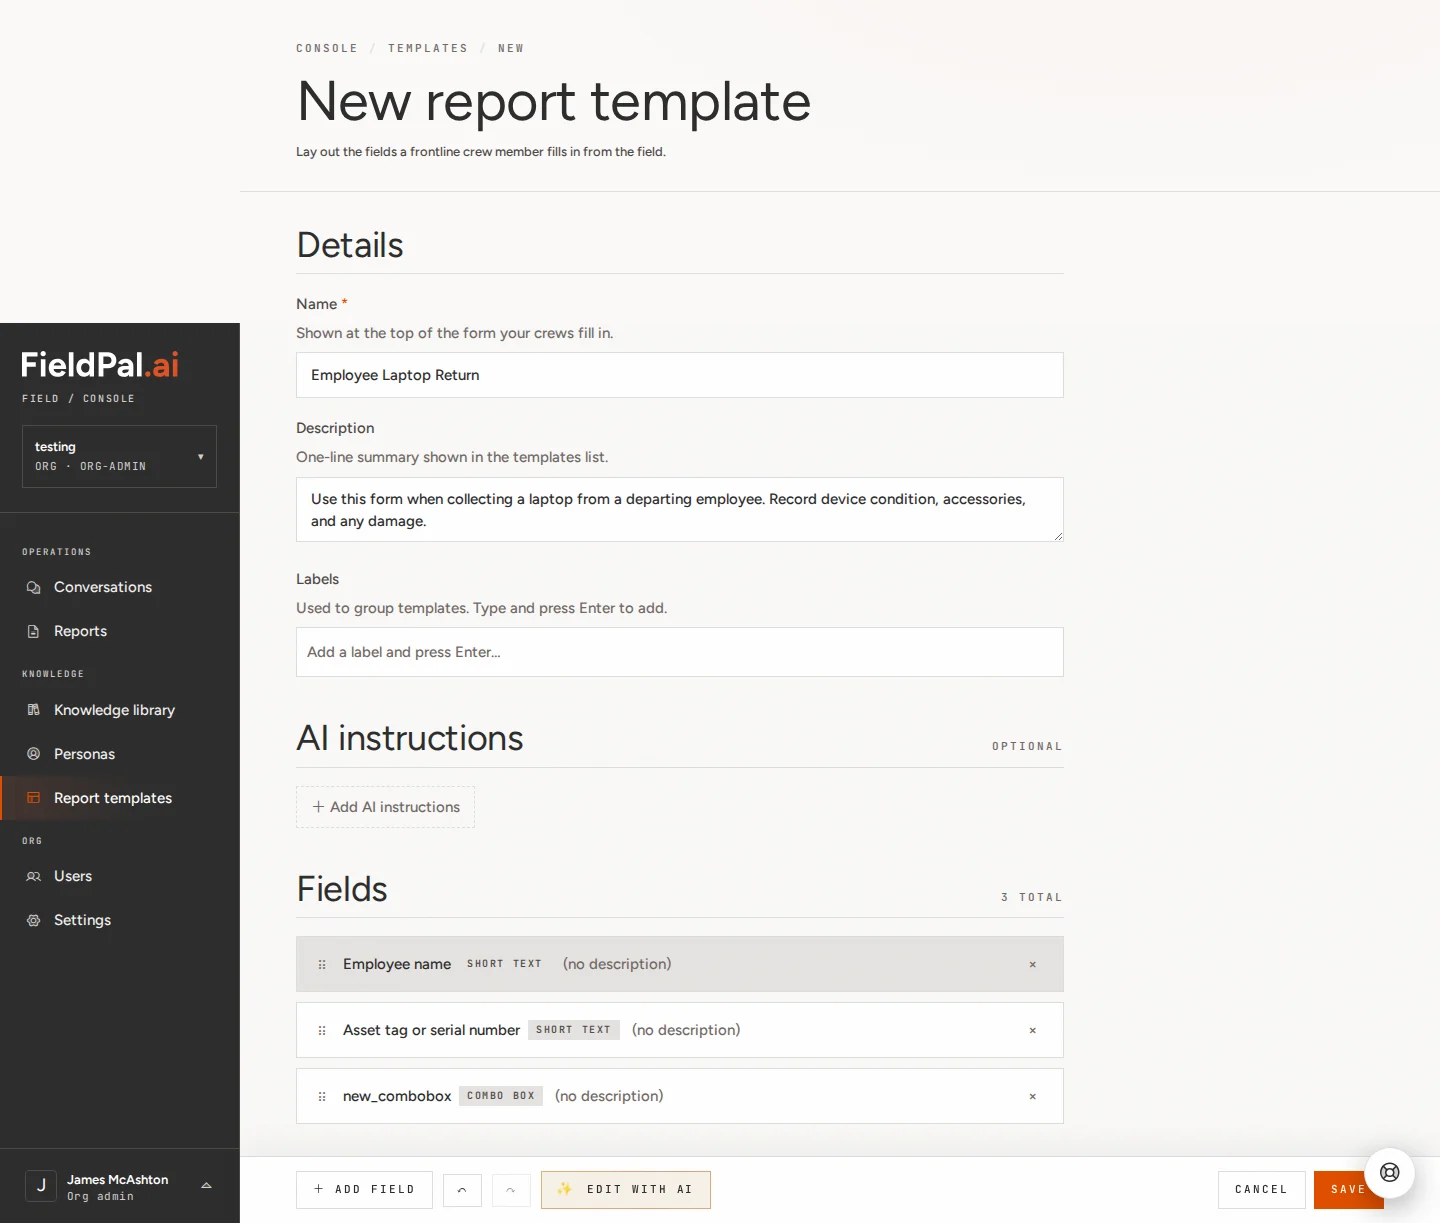

Device condition
Good – no visible damageFair – minor wear or scuffsDamaged – visible defects
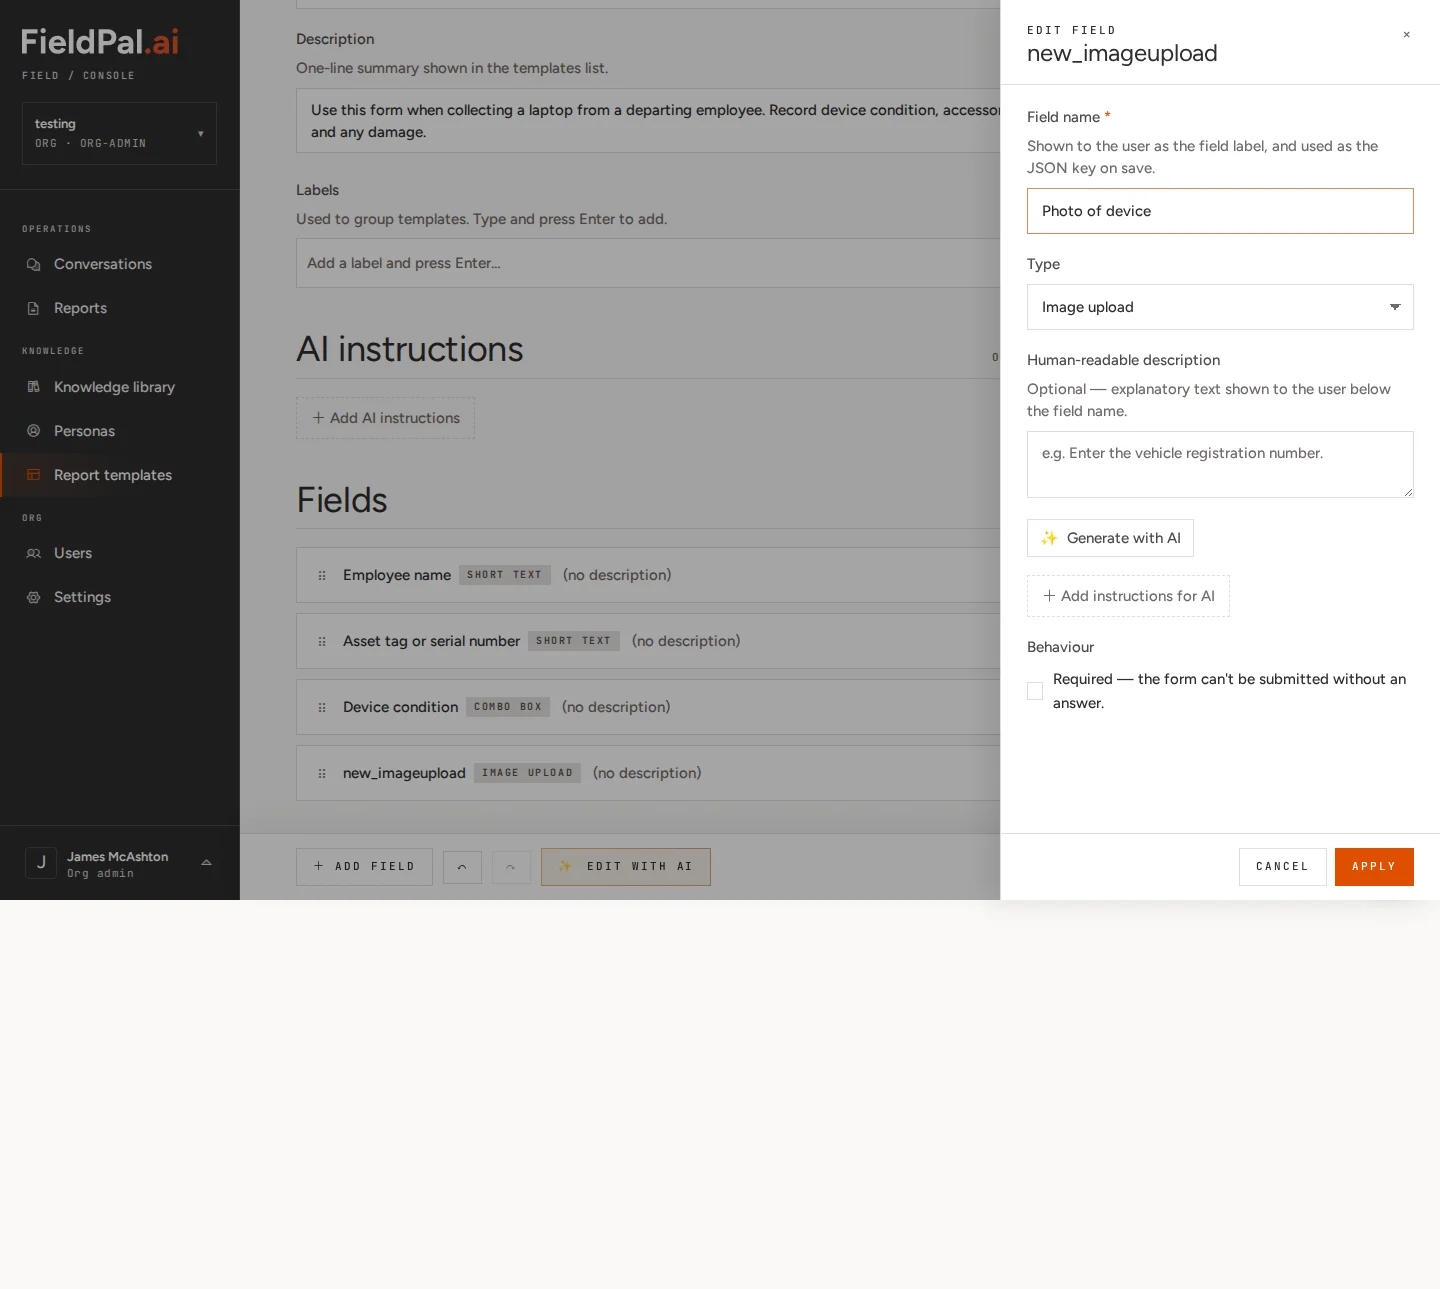
Step 8: Add an Image upload field (Photo of device)
Click + Add field and choose Image upload.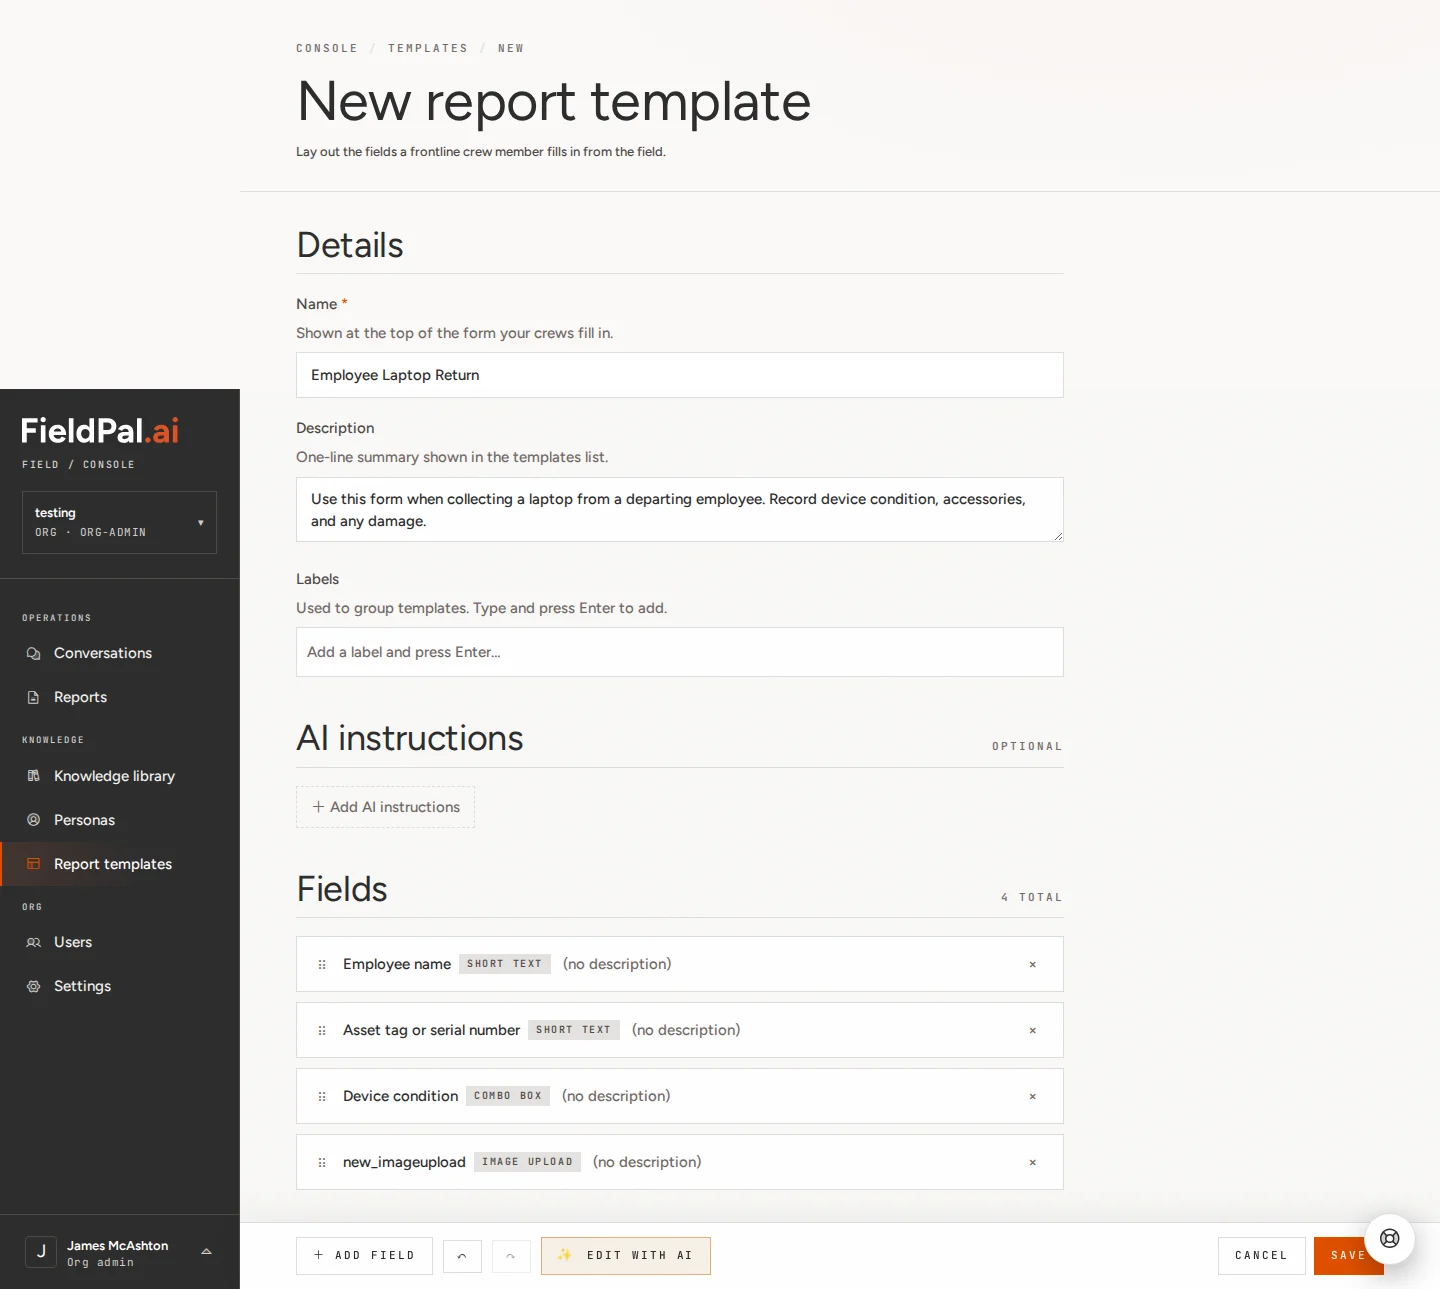
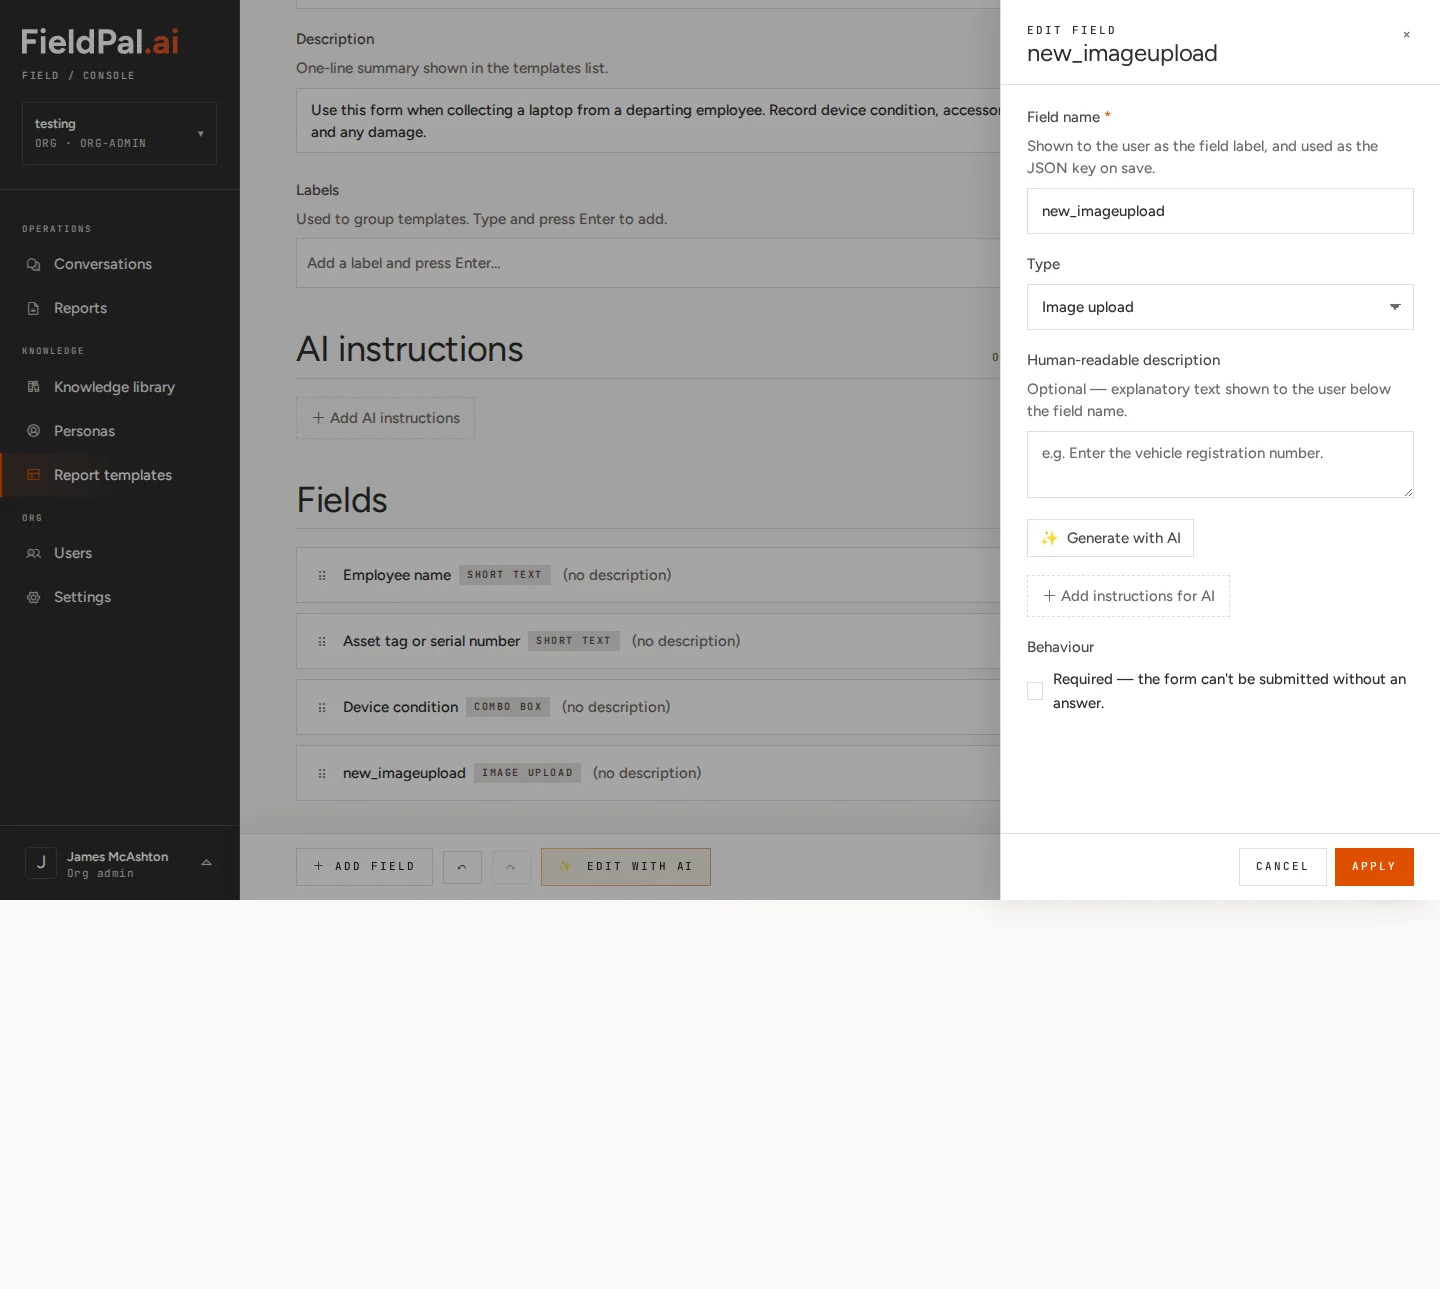
Photo of device
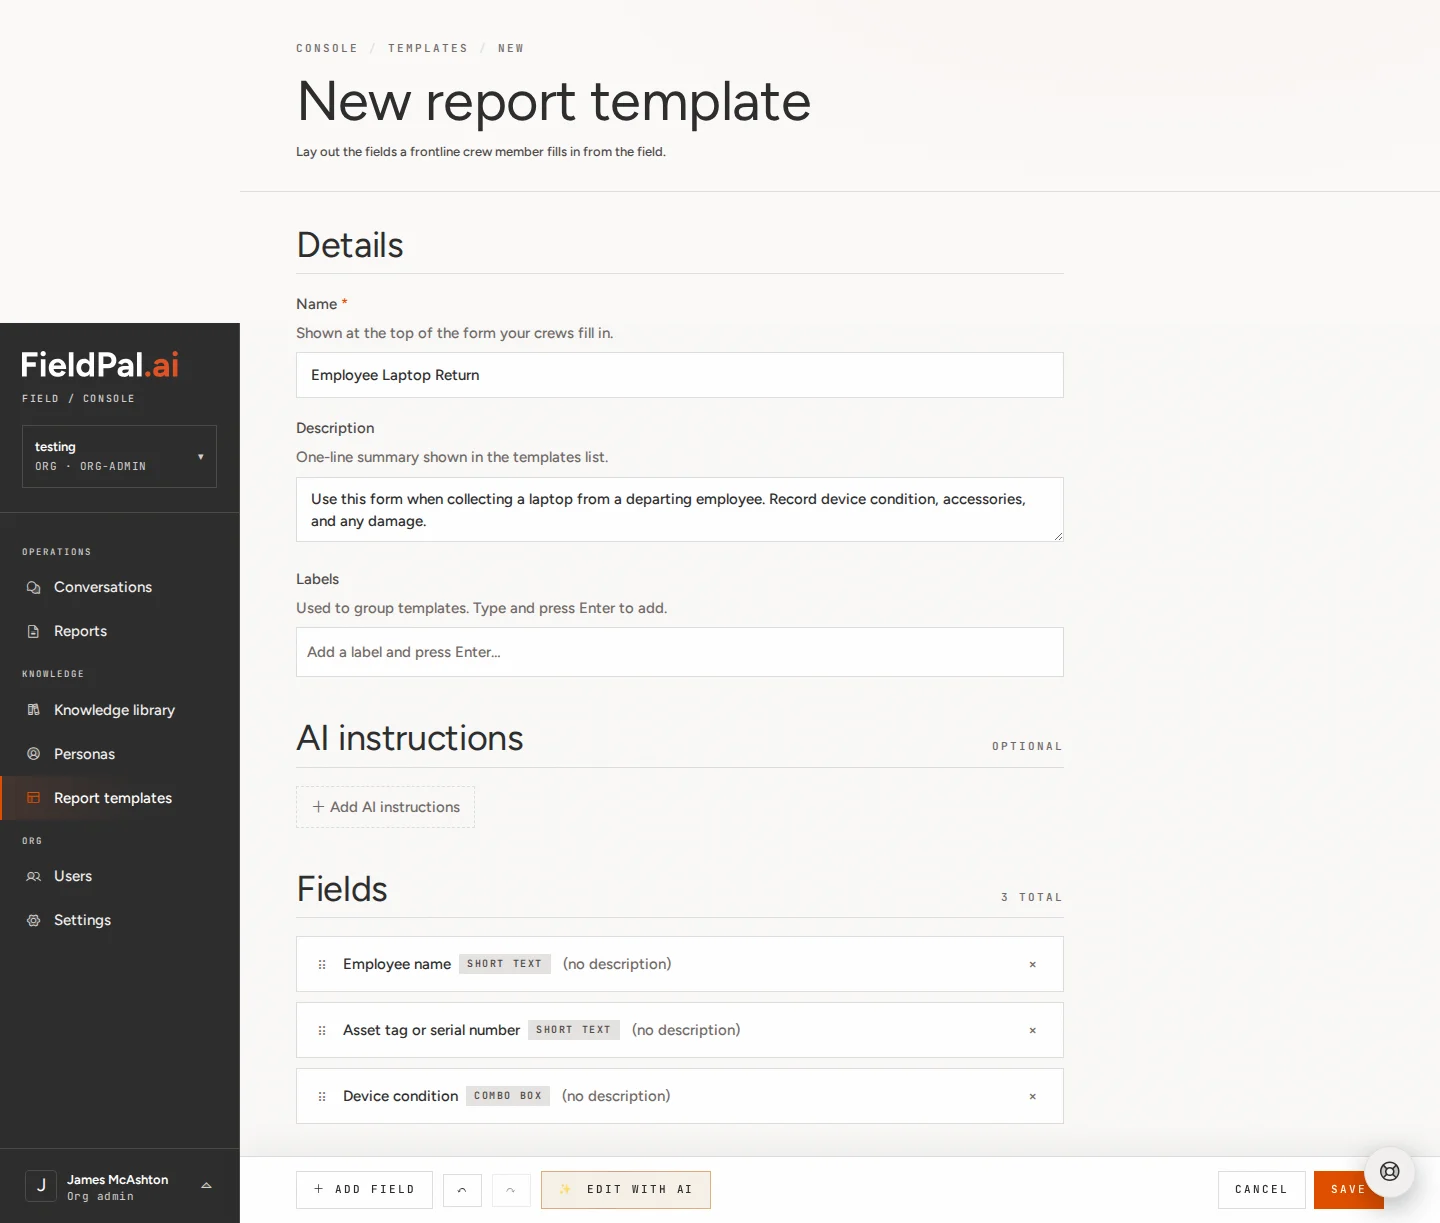
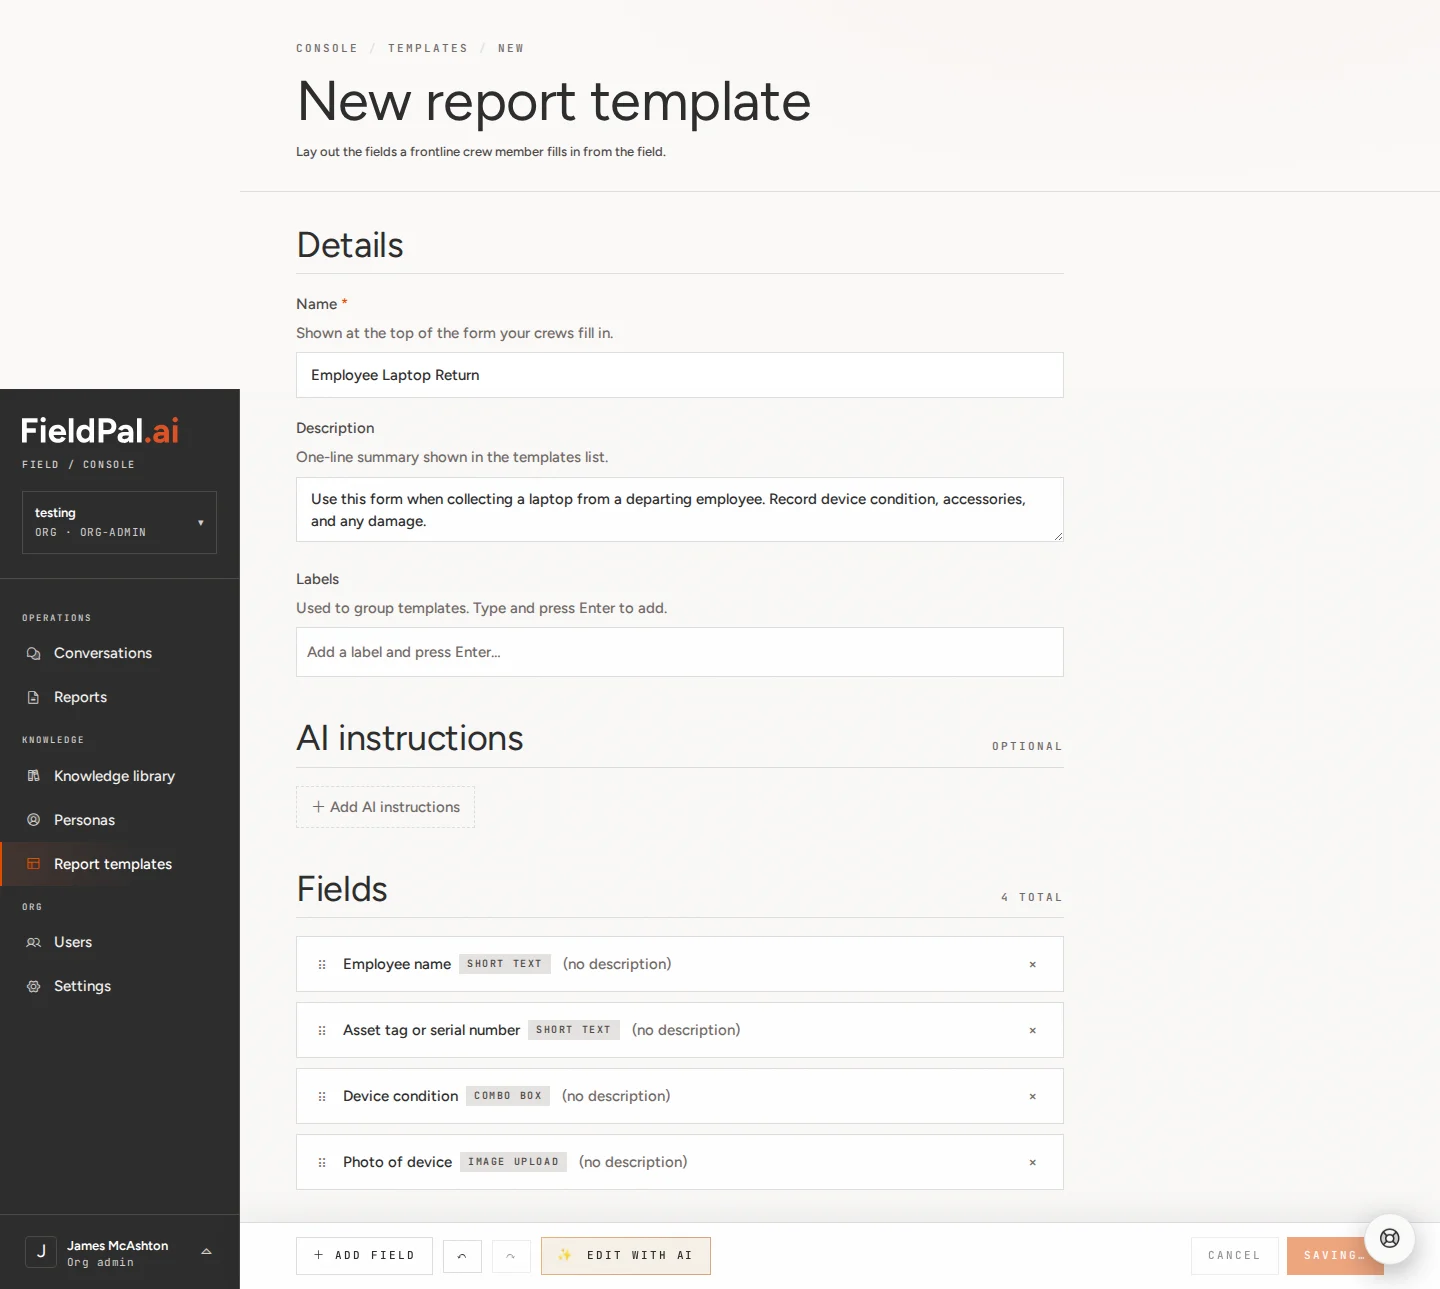
Step 9: Review your template
You should now see four fields in the Fields section:- Employee name: Short text
- Asset tag or serial number: Short text
- Device condition: Combo box
- Photo of device: Image upload

Step 10: Save
Click Save in the bottom toolbar.
What happens next
The template appears in your Report Templates list. From there you can:- Edit it at any time using the pencil icon (✎).
- Duplicate it using the copy icon (⎘) to base a new form on this one.
- Delete it using the bin icon (⌫) if it is no longer needed.
Tips
- Required fields: in the field editor, tick “Required” if the form should not be submittable without an answer. Good candidates: name, photo, any identifier field.
- Field order matters: put the most important fields at the top so they are the first thing the field worker sees.
- Keep combo box options concise: three to five options is usually enough. Too many choices slows people down on site.